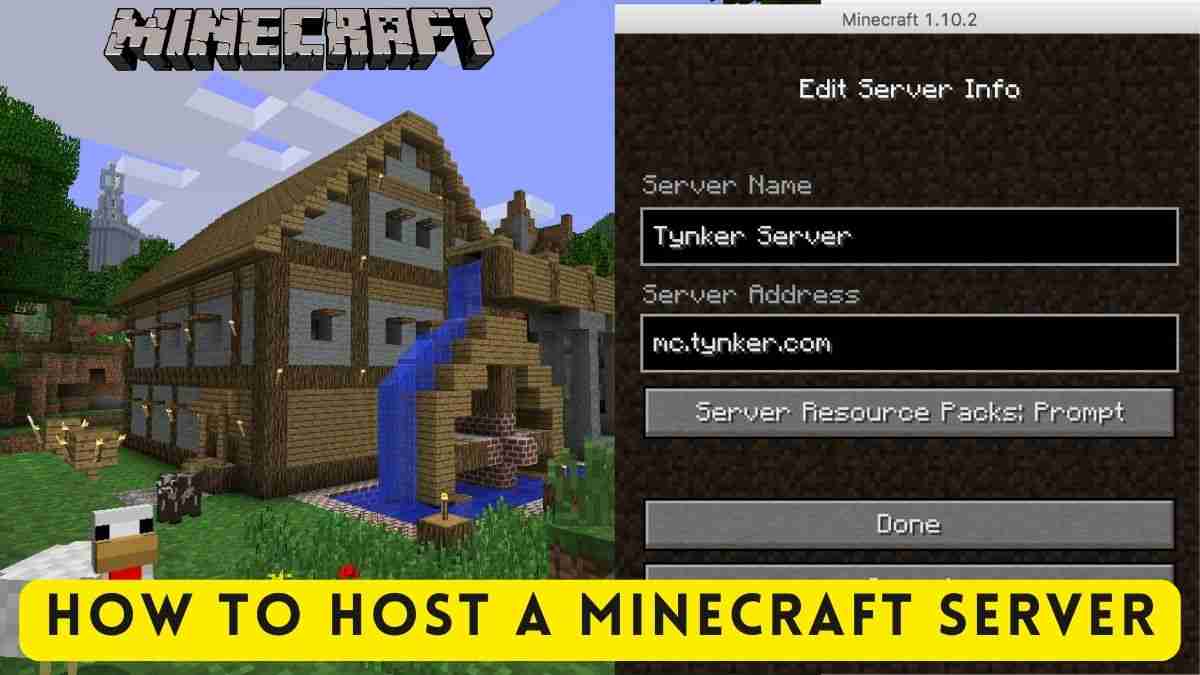
How to host a Minecraft Server: Hosting a Minecraft server on a dedicated or VPS server is called Minecraft server hosting. Players may join the server and play online. Hosting a Minecraft server includes configuring the server software and controlling its attributes and permissions. In order to facilitate connections from external players, port forwarding may be necessary on the router. Furthermore, utilizing custom control panels and incorporating automated backups can simplify the process of hosting a Minecraft server. Additionally, technical assistance can also aid in this endeavor.
Here’s how to set up a Minecraft server hosting environment so you can invite other users to explore, construct, and harvest resources on your very own server.
- Get Roblox Mythical Clickers Codes from here: Mythical Clickers Codes: Latest Codes (2024)
How to host a Minecraft Server
Depending on your skill level, there are many methods to run a Minecraft server. Mojang Studios offers free server software for beginners. Java expertise is needed. You may still chat with pals online without that.
Hosting by Purchasing a Server
Hosting a Minecraft server can be a fun and rewarding experience, allowing you to play the game with friends and others online. However, setting up and maintaining a server can also be a bit complex, especially if you’re new to the process. In this article, we’ll walk you through the steps of how to host a Minecraft server, so you can get started on your own.
Step 1: Purchase a server
The first step in hosting a Minecraft server is to purchase a server. You can either purchase a dedicated server or a virtual private server (VPS). Dedicated servers are typically more expensive, but also offer more power and control. VPSs are a more affordable option, but may be less powerful and customizable.
Step 2: Install the server software
Once you have your server set up, you’ll need to install the server software. There are several different options available, including Minecraft Server, Bukkit, and Spigot. Minecraft Server is the official server software, while Bukkit and Spigot are popular third-party options. Each software has its own pros and cons, so it’s important to research them to find one that will work best for your needs.
Step 3: Configure the server
After installing the server software, you’ll need to configure it. This will include setting up the server’s properties, such as the server’s name, port, and player limit. You’ll also need to set up the server’s permissions, so you can control who can do what on the server.

Step 4: Set up port forwarding
To make your server accessible to the public, you’ll need to set up port forwarding on your router. This will allow players to connect to your server from outside of your local network.
Step 5: Start the server
Once your server is configured and port forwarding is set up, you can start the server. You’ll be able to access the server’s control panel, where you can manage the server, add plugins, and more.
Step 6: Create a website and forum
Your server website and forum are a great way to build your community. It’s a place where you can post server news, rules and regulations, and more. You can also create a forum where players can discuss the server, ask questions, and share tips.
Step 7: Start promoting your server
How to host a Minecraft Server: Now that your server is up and running, you’ll want to start promoting it. You can post on social media, create a YouTube channel, or even use paid advertising to get the word out.
In conclusion, hosting a Minecraft server can be a fun and rewarding experience, but it does require some technical know-how. By following these steps, you can set up your own server and start playing with friends and others online. Remember to also keep an eye on your server’s performance and to update it regularly.
- Ubisoft Confirms Beyond Good and Evil 2: Beyond Good And Evil 2: Ubisoft Confirms the game’s Release
Hosting through Java Edition (Free Method)
Hosting a Minecraft Java Edition server lets you participate in the same world as others for PVP, construction contests, manhunts, or simply survival.
Minecraft Java Edition server. First, instal the newest Java version for security. Check Java in your control panel. Install or upgrade Java with the newest version.
After downloading Mojang’s server software and Java’s newest version, establish a folder for your server since it will produce configuration files on a desktop or download folder. Creating a server folder makes file organisation simpler.
After clicking the file and starting the server, you must configure. Steps:
- Find the text file eula.txt and open it in a text editor
- Change the line eula=false and eula=true to show you have read, understood, and agree to the user license agreement
- If you have problems doing it this way, you may need to run as administrator
After setting up Minecraft hosting, you may share your server by giving your internal IP address to people on the same network and your external IP address to everyone else. Your router will require port forwarding. Host a server on a separate PC.
This article from Minecraft answers commonly asked questions and provides directions on how to set up Minecraft hosting. This Microsoft support article also covers the topic.
- Valiant Force 2 Tier List is here: Valiant Force 2 Tier List: Our Prediction and Theory
Hosting through Third-party
How to host a Minecraft Server: Finally, third-party firms host servers with more than 10 persons for a price. If one of your favourite Minecraft YouTubers suggests a server host, be sure they’re trustworthy.
That’s Minecraft hosting and server setup.
Read These Articles Too:


